
Step 1 - Log into PackageX using your locations unique email and password. You will see this dashboard when you log-in.

Step 2- Open Operate and Click into your Member --> Contacts. You will be downloading a .csv file of your active license member contacts to upload into PackageX.
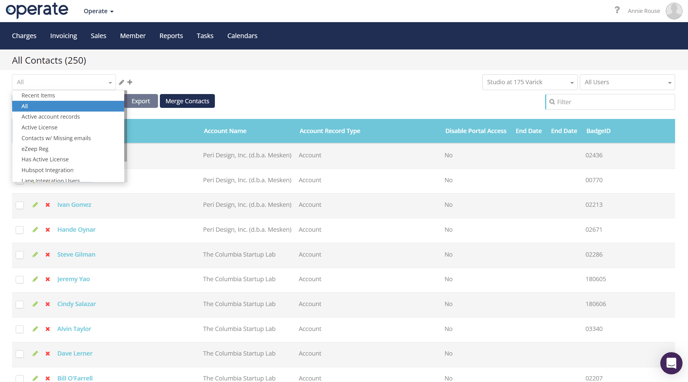
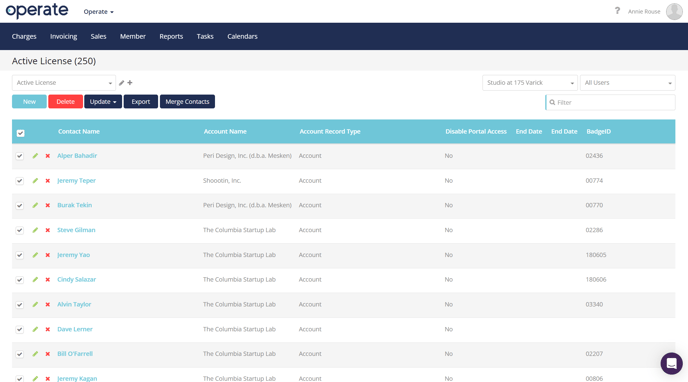
Check all active members and click "Export". This will populate a spreadsheet in your downloads.
Step 3- Navigate back to PackageX and click the "Recipients" Tab on the left side panel.

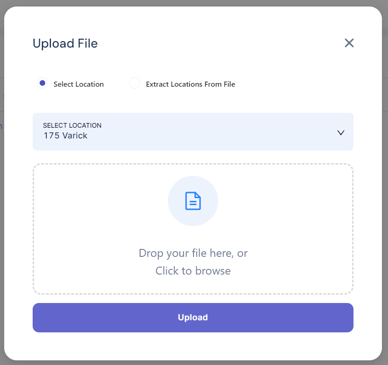
Step 4- Click "Add" --> "Upload CSV" and upload your spreadsheet.

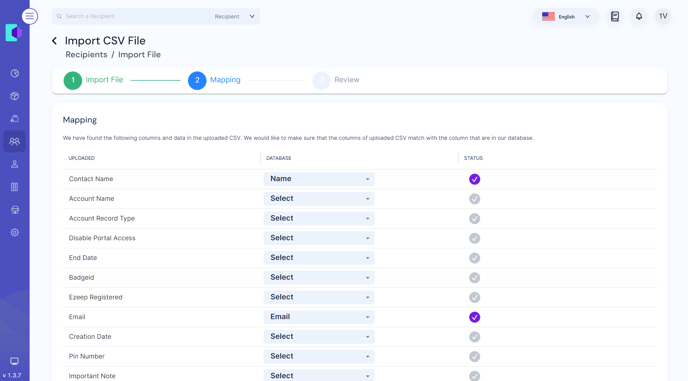
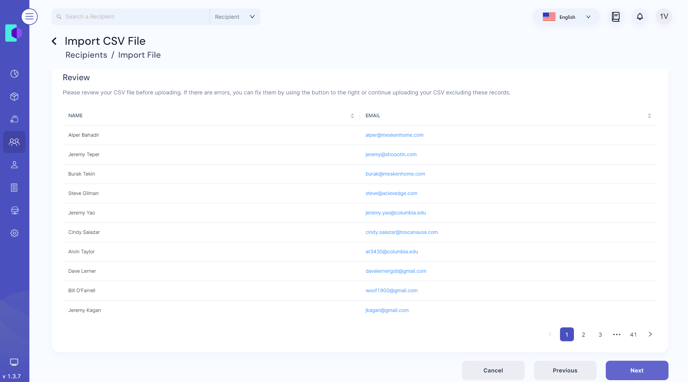
Step 5- Select which columns of your spreadsheet you would like to keep (Contact Name, and Email). Proceed to the next page.
Tip: If you have previously uploaded a spreadsheet and are adding more members, you can merge the lists together to remove duplicates.
Step 6- Review that your file has been uploaded, it will turn from grey to green when all contacts have been added. 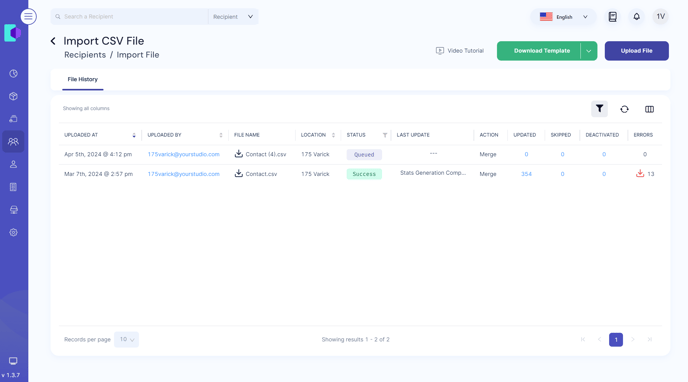
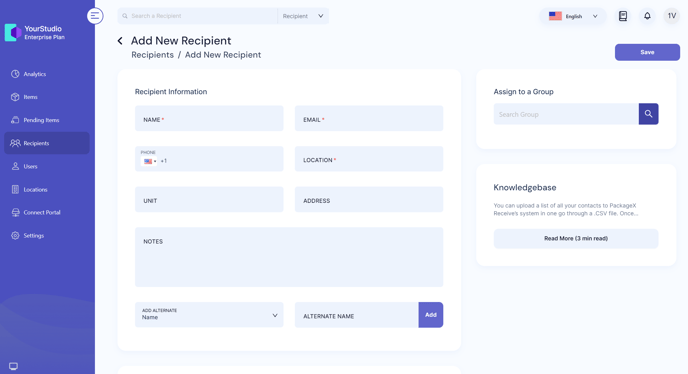
For new members onboarded into Studio Systems, you will need to add them manually into PackageX using the same "Add --> Recipients" button. You will need the member's name, email, and location.
Step 7- Use the mobile app to begin scanning in packages and notifying your recipients. Check out this Knowledge Base article for tips on scanning and notifying.